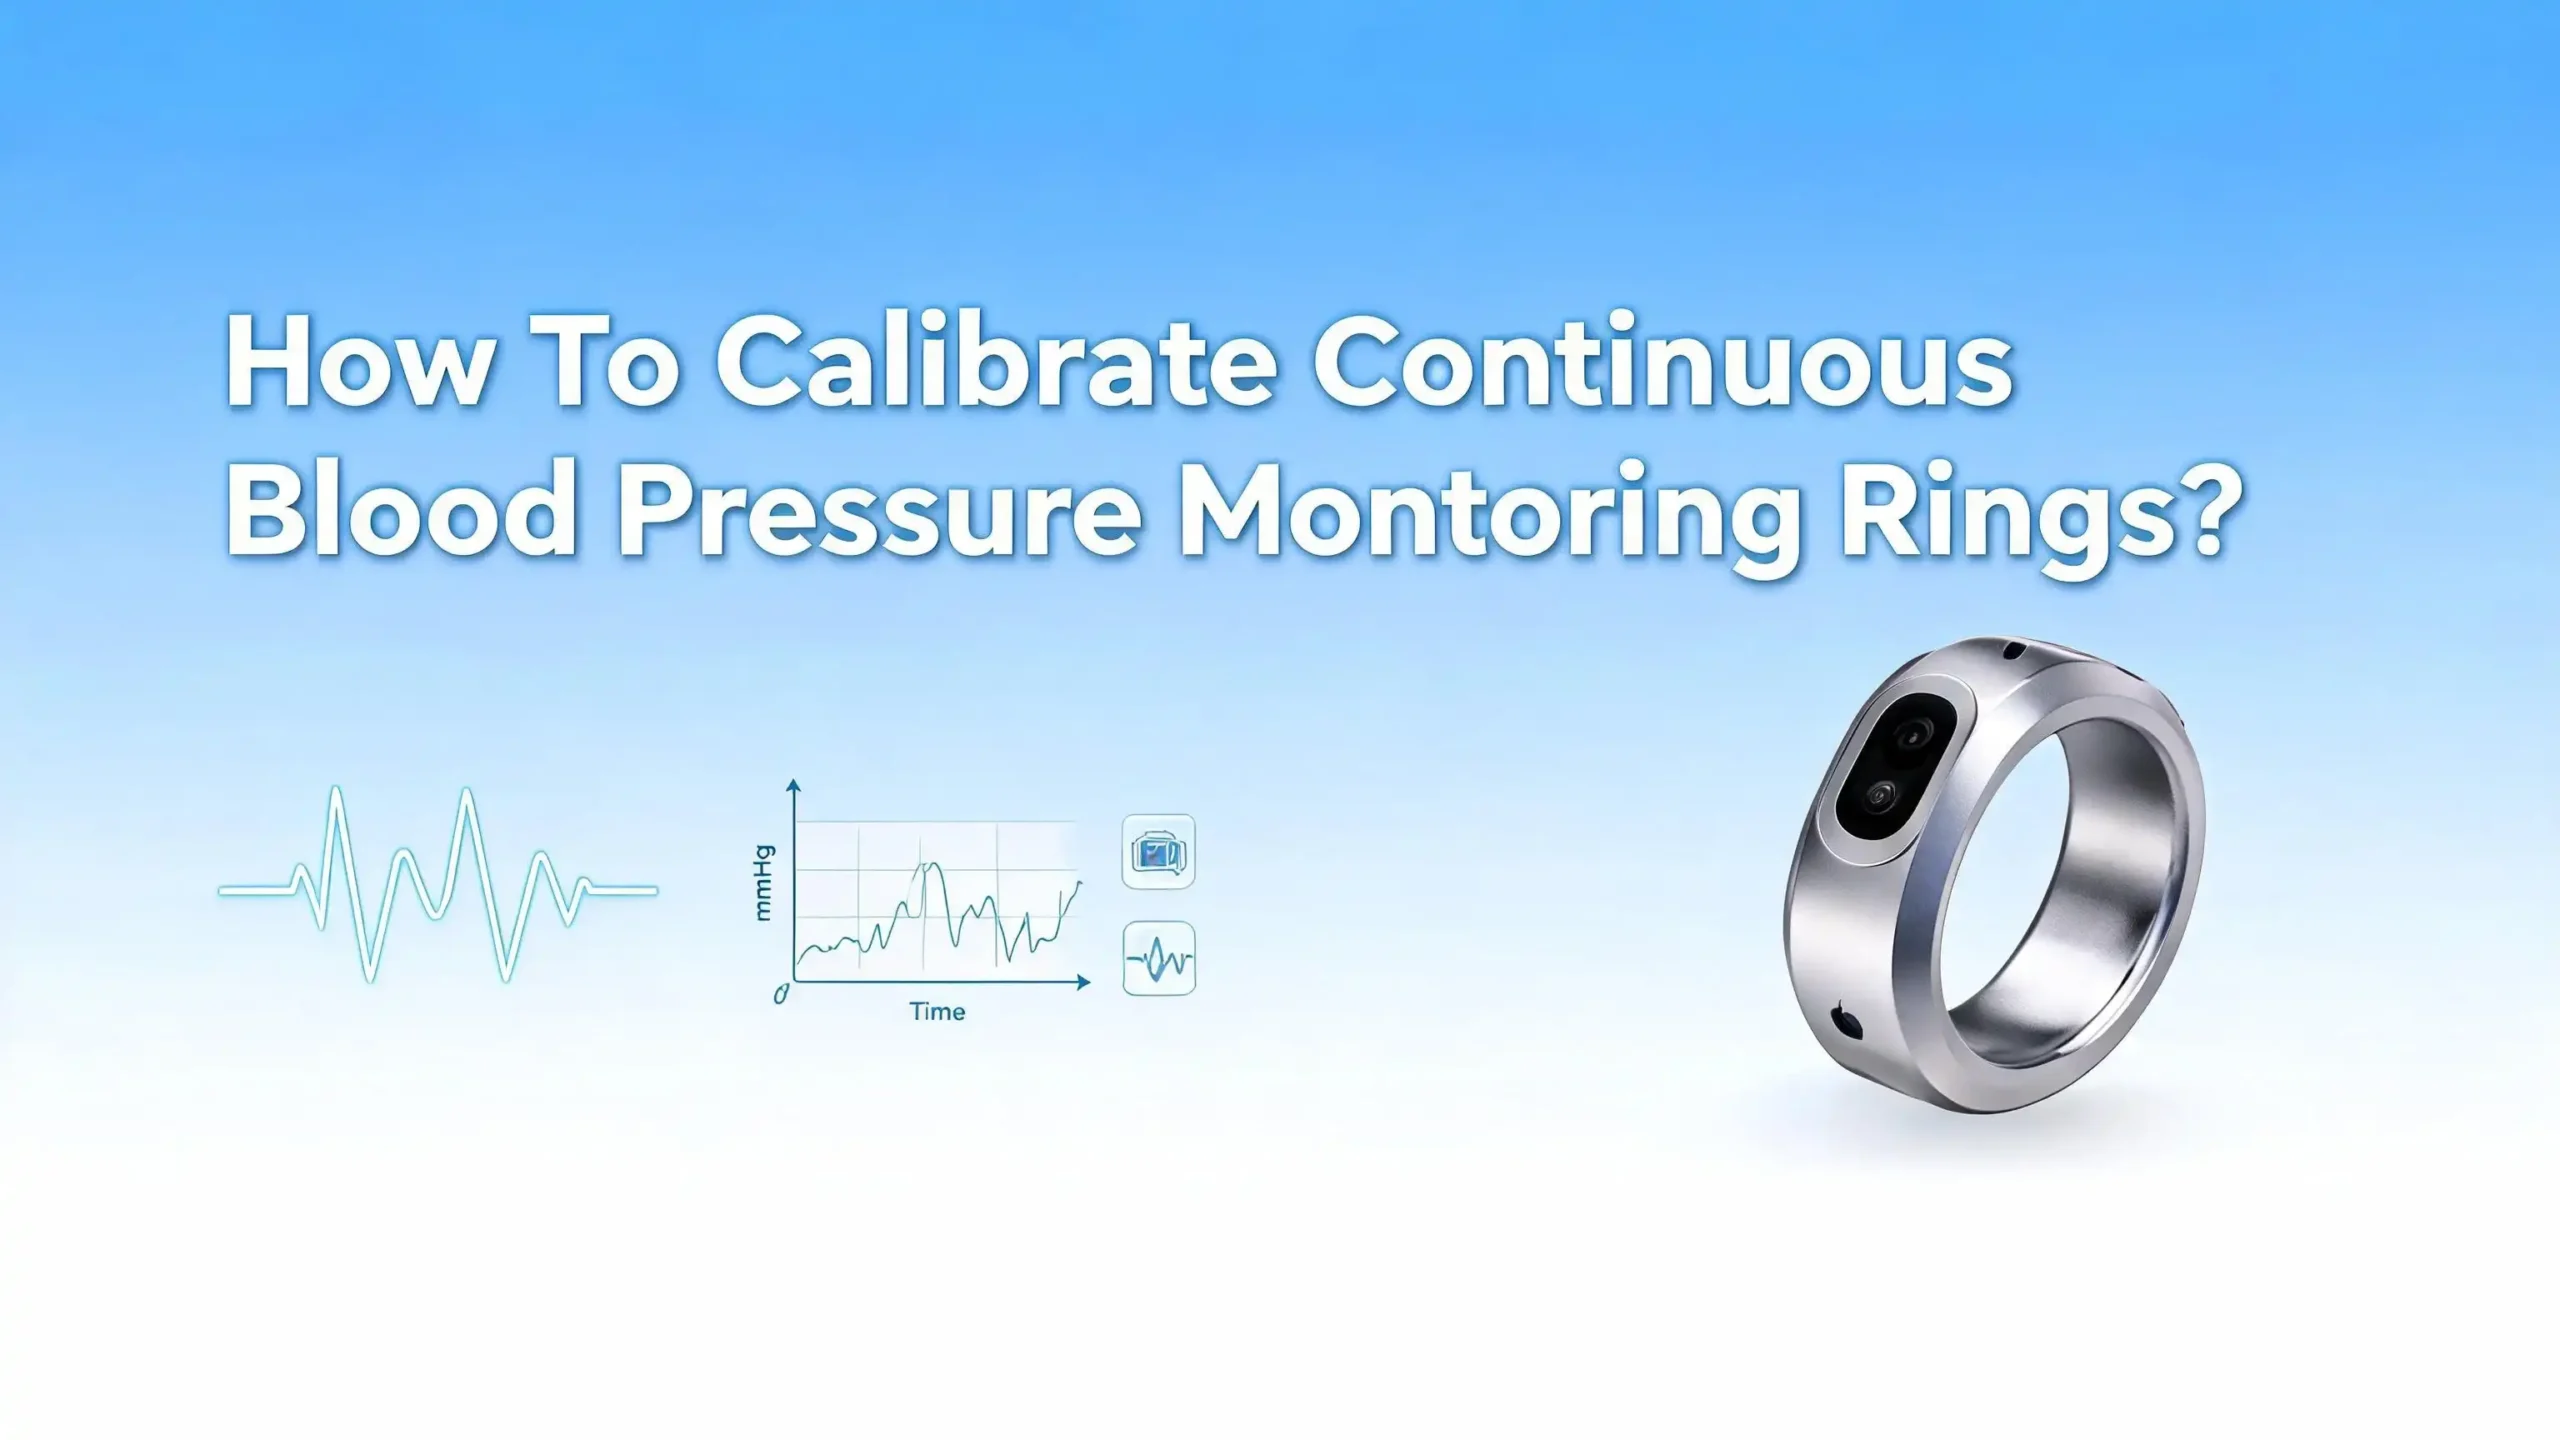
How To Calibrate Continuous Blood Pressure Monitoring Rings?
Blood pressure monitoring has moved from bulky arm cuffs to small, sleek rings you wear on your finger. These smart rings promise to track your blood pressure all day and all night. But here is the catch: they only work well if you calibrate them properly.
Without correct calibration, your ring could give you misleading data. That data could cause unnecessary worry or, worse, make you ignore a real health concern.
Calibration links the ring’s optical sensors to a known, accurate blood pressure reading. It is the foundation of every measurement your ring will take.
This guide walks you through every step of the calibration process. You will learn what calibration actually does, how often to do it, and what mistakes to avoid. Let us get started.
Key Takeaways
- Calibration is required, not optional. Every continuous blood pressure monitoring ring needs calibration with a traditional arm cuff to establish a personal baseline. Without this step, the ring cannot produce meaningful blood pressure data.
- You must recalibrate regularly. Most manufacturers recommend calibrating at least once every 28 days. Weekly calibration gives even better accuracy. Your body changes over time, and the ring needs updated reference points.
- Sit still and stay relaxed during calibration. Even small movements can cause the calibration to fail. Place both arms on a flat surface, breathe normally, and avoid talking during the process.
- Ring fit affects accuracy. A ring that is too loose will shift on your finger and give unreliable sensor readings. A ring that is too tight can restrict blood flow. Proper sizing is critical before you even begin calibration.
- Smart ring blood pressure data tracks trends, not exact numbers. These devices show patterns over time rather than precise clinical measurements. Always confirm concerning readings with a validated arm cuff monitor.
- Your companion app guides the process. Every blood pressure ring comes with a smartphone app that walks you through calibration step by step. Keep the app updated to access the latest calibration features and accuracy improvements.
What Is Calibration And Why Does It Matter
Calibration is the process of teaching your smart ring what your blood pressure actually looks like. The ring uses optical sensors called photoplethysmography (PPG) sensors to measure how light passes through the blood vessels in your finger. These sensors detect changes in blood flow, pulse wave patterns, and heart rate.
However, raw sensor data alone cannot tell you your blood pressure in standard mmHg numbers. The ring needs a reference point. That reference point comes from a traditional arm cuff measurement. During calibration, you take a cuff reading at the same time the ring records its own sensor data. The ring’s software then creates a personal baseline by matching the cuff reading to the sensor data.
Think of it like setting a clock. Your ring’s sensors can detect changes in blood pressure, but calibration tells the ring where “zero” is. Without that anchor, the sensor data floats without meaning.
The American Heart Association has noted that cuffless blood pressure devices estimate blood pressure indirectly. Accuracy depends heavily on calibration quality, the accuracy of the cuff device used, and how often you recalibrate. This makes calibration the single most important step in getting useful data from your ring.
How Continuous Blood Pressure Rings Work
Understanding how your ring works helps you calibrate it better. Most blood pressure monitoring rings use PPG technology. The ring shines a small LED light into the skin of your finger. Sensors on the other side detect how much light passes through or reflects back.
Blood absorbs light differently depending on how much of it is flowing through your vessels at any given moment. When your heart beats, a pulse of blood pushes through your arteries. The ring detects these pulses and analyzes their shape, timing, and intensity.
Some advanced rings also use bioimpedance sensors. These send a tiny, painless electrical signal through your finger and measure the resistance. Blood and tissue conduct electricity differently, so this data adds another layer of information about blood flow and vessel stiffness.
The ring’s AI algorithms then process all of this raw data. They look at pulse wave velocity, pulse transit time, and waveform characteristics to estimate your blood pressure. A study published in Nature Digital Medicine showed that ring shaped bioimpedance sensors combined with machine learning can produce accurate blood pressure estimates with strong correlation to cuff measurements.
But all of this processing depends on one thing: a solid calibration baseline. The algorithms need that initial cuff reading to translate sensor patterns into actual blood pressure values.
Equipment You Need Before Calibration
Before you start the calibration process, gather the right equipment. You need three essential items: your blood pressure monitoring ring, a validated arm cuff blood pressure monitor, and a smartphone with the ring’s companion app installed.
The arm cuff monitor is the most important piece. Use an upper arm cuff monitor, not a wrist cuff. Upper arm monitors are more accurate and provide the reliable reference readings your ring needs. Make sure the cuff monitor has been validated against clinical standards.
Check that your ring is fully charged before starting. A low battery can affect sensor performance and cause calibration to fail. Most rings need at least 30% battery to complete the process.
Update your companion app to the latest version. Manufacturers regularly release software updates that improve calibration algorithms and sensor accuracy. An outdated app may use older calibration methods that produce less accurate baselines.
Finally, find a quiet, comfortable place to sit. You need a table or desk where you can rest both arms flat. The environment matters more than most people realize. Temperature extremes, bright direct light, and background noise can all affect your readings. A calm, room temperature setting gives you the best chance of a successful calibration.
Step By Step Calibration Process
The exact steps vary slightly between ring brands, but the general process follows the same pattern. Here is a clear walkthrough that applies to most continuous blood pressure monitoring rings.
Step 1: Put your blood pressure ring on the correct finger. Most rings work best on the index or middle finger. Make sure it sits snugly against the skin with the sensors facing the palm side of your finger.
Step 2: Sit in a chair with your feet flat on the floor. Rest both arms on a table at heart level. Relax for at least five minutes before starting. This resting period is critical because movement and stress raise your blood pressure temporarily.
Step 3: Open the companion app on your phone and go to the calibration or blood pressure setup section. The app will guide you through the remaining steps on screen.
Step 4: Place the arm cuff on the opposite arm from the hand wearing the ring. This prevents the cuff inflation from interfering with the ring’s sensors.
Step 5: Start the calibration in the app. The app will instruct you to take a cuff reading. Stay completely still during this step. Do not talk, cough, or shift your position. Even slight movements can cause the calibration to fail.
Step 6: The app will record the cuff reading and sync it with the ring’s sensor data. Some rings require two or three consecutive readings to complete calibration. Wait the recommended time between each reading.
Step 7: Once the app confirms calibration is complete, you are set. The ring will now use this baseline to estimate your blood pressure throughout the day.
How Often Should You Recalibrate
Recalibration is not a one time task. Your body changes constantly. Weight fluctuations, medication adjustments, stress levels, and even seasonal temperature changes can all shift your blood pressure baseline. If you only calibrate once, the ring’s estimates will gradually drift away from accuracy.
Most manufacturers recommend recalibrating at least once every 28 days. This is the maximum interval. For better accuracy, weekly calibration is preferred. Users on community forums who calibrate weekly report more consistent and reliable readings compared to those who wait the full 28 days.
There are also situations where you should recalibrate outside your normal schedule. If your doctor changes your blood pressure medication, recalibrate immediately. If you experience a significant weight change of more than a few pounds, recalibrate. If you switch the ring to a different finger, recalibrate.
Pay attention to your data trends as well. If readings suddenly look very different from your usual pattern without any obvious reason, a fresh calibration often fixes the issue. The ring’s companion app may also send you reminders when recalibration is due. Do not ignore these notifications.
Getting The Right Ring Fit For Accurate Readings
Ring fit is one of the most overlooked factors in blood pressure accuracy. A poorly fitting ring will produce unreliable data no matter how carefully you calibrate.
The ring should sit snugly on your finger without feeling tight. You should be able to slide it over your knuckle with slight resistance, but it should not spin freely once in place. If the ring moves around during daily activities, the sensors lose consistent contact with your skin. This creates gaps in data and reduces accuracy.
Most ring manufacturers include a sizing kit with your purchase. Use it carefully. Wear the sizing ring for at least 24 hours before choosing your size. Your fingers swell and shrink throughout the day due to temperature, hydration, and activity. A size that feels perfect in the morning may feel tight by evening.
The sensor placement also matters. The PPG sensors need direct, stable contact with the underside of your finger where blood vessels are closest to the surface. If the ring rotates so that the sensors face the top or sides of your finger, the readings will suffer.
Cold fingers reduce blood flow and make sensor readings weaker. If your hands are frequently cold, warm them up before calibration. You can run them under warm water or hold a warm cup for a minute. This simple step can make a big difference in calibration quality.
Common Calibration Mistakes To Avoid
Many users struggle with calibration not because the technology is flawed, but because of avoidable mistakes. Here are the most common errors and how to fix them.
Moving during calibration is the number one cause of failure. Users on smart ring forums report that even small fidgets or shifts cause the process to fail repeatedly. The solution is simple: sit still, breathe slowly, and treat the process like a brief meditation.
Using an inaccurate cuff monitor defeats the entire purpose. If your reference reading is wrong, your ring’s baseline will be wrong too. Make sure your cuff monitor has been validated and check its accuracy against a reading at your doctor’s office at least once a year.
Calibrating right after exercise, eating, or drinking caffeine will skew your baseline. These activities temporarily raise blood pressure. Wait at least 30 minutes after exercise and 15 minutes after eating or drinking caffeine before calibrating.
Wearing the ring too loosely during calibration gives the sensors unreliable data. Double check the fit before you start. The ring should not wobble or rotate on your finger.
Skipping recalibration causes your readings to drift over time. Set a recurring reminder on your phone so you never go beyond the recommended interval. Consistency in recalibration is the key to consistent data.
Factors That Affect Blood Pressure Ring Accuracy
Even with perfect calibration, several factors influence how accurate your ring’s readings will be on any given day. Understanding these helps you interpret your data correctly.
Motion and physical activity are the biggest challenges for wearable blood pressure sensors. The sensors work best when you are still. During exercise or vigorous hand movements, readings may be less reliable. Most rings are designed to take their most accurate readings during rest and sleep.
Skin tone and skin thickness can affect PPG sensor performance. The American Heart Association has noted that device accuracy may vary by skin tone. Manufacturers are improving their algorithms to address this, but it remains a factor to be aware of.
Temperature plays a significant role. Cold environments cause blood vessels in your fingers to constrict, reducing blood flow and weakening the optical signal. Very hot conditions can have the opposite effect. Room temperature environments produce the most stable readings.
Hydration levels affect blood volume and vessel elasticity. Dehydration can lead to slightly different readings than you would get when fully hydrated. Drink water regularly for the most consistent data.
Ring position on your finger matters throughout the day. If the ring shifts so the sensors move away from the palm side of your finger, accuracy drops. Periodically check that your ring has not rotated out of position, especially after washing your hands or applying lotion.
Understanding What Your Blood Pressure Data Means
After calibration, your ring will start producing blood pressure trend data. It is important to understand what this data represents and what it does not.
Most blood pressure rings track trends and patterns rather than exact mmHg values. This means the ring excels at showing you whether your blood pressure is rising, falling, or staying stable over days and weeks. It is less useful for getting a precise number at any single moment.
The data is especially valuable for spotting nighttime blood pressure patterns. Research published in the European Heart Journal has shown that nighttime blood pressure is a stronger predictor of cardiovascular events than daytime readings. Traditional cuff monitors are uncomfortable to sleep in, so most people never measure nighttime blood pressure. A smart ring fills this gap because you can wear it comfortably all night.
Your ring can also help identify white coat hypertension. This is a common condition where blood pressure spikes in clinical settings due to anxiety but remains normal at home. Continuous ring data shows your doctor what your blood pressure actually looks like during normal daily life.
However, do not use ring data to make medication decisions on your own. If your ring shows a concerning trend, confirm it with a validated arm cuff and discuss it with your healthcare provider. Smart ring data is a supplement to clinical measurements, not a replacement.
Calibrating For Different Times Of Day
Blood pressure naturally fluctuates throughout the day. It is typically lower during sleep and higher during active waking hours. This raises a question: does the time of day you calibrate matter?
Yes, it does. Most experts recommend calibrating during a calm, resting state in the morning or evening. Avoid calibrating during the middle of a busy, stressful day. Your baseline should represent your resting blood pressure, which gives the ring’s algorithms a stable reference point.
Some advanced ring apps allow you to enter multiple calibration readings taken at different times. This gives the AI more data points to work with and can improve accuracy across the full 24 hour cycle. If your ring supports this feature, take one calibration reading in the morning and another in the evening for the best results.
If you work night shifts or have an irregular sleep schedule, calibrate during your equivalent of a calm rest period. The goal is to capture your blood pressure when your body is in its most relaxed, baseline state.
Keep a consistent calibration routine. If you always calibrate at 8 AM on Sunday mornings, stick with that pattern. Consistency reduces variables and gives your ring’s algorithms the cleanest possible data to work with.
Troubleshooting Failed Calibration Attempts
Sometimes calibration just will not work. The app shows an error, the reading fails, or the data does not sync. Here is how to troubleshoot the most common issues.
Restart the ring and the app. This sounds basic, but it solves a surprising number of problems. Close the app completely, turn off your ring’s Bluetooth, wait 30 seconds, and reconnect. Then try calibrating again.
Check the ring’s sensor window. Dirt, lotion, sweat, or skin oils on the sensor can interfere with the optical readings. Clean the inside of the ring with a soft, dry cloth before calibrating. Make sure the sensor LEDs are visible and not blocked.
Warm up your hands. If your fingers are cold, blood flow is reduced and the sensors cannot get a strong signal. Run your hands under warm water for a minute and dry them thoroughly before trying again.
Make sure the cuff is positioned correctly. The arm cuff should sit on bare skin, about one inch above the elbow crease. A cuff over clothing or in the wrong position gives inaccurate reference readings. The ring cannot calibrate properly against a bad reference.
Try a different finger. If the ring keeps failing on one finger, your companion app may allow you to switch to another. The index and middle fingers typically give the strongest sensor signals. Avoid the pinky finger, which has smaller blood vessels and weaker signals.
If none of these steps work, contact the manufacturer’s support team. There may be a hardware issue with the sensor, or you may need a firmware update to fix a known bug.
How Blood Pressure Rings Compare To Traditional Cuffs
Blood pressure monitoring rings and traditional arm cuffs serve different purposes. Understanding their differences helps you use each tool effectively.
Traditional arm cuffs are the gold standard for accuracy. They directly measure the pressure in your brachial artery and produce precise systolic and diastolic values. Clinical decisions, medication adjustments, and diagnoses are based on cuff readings. A first in human study published in Sensors journal showed that ring type blood pressure devices have good correlation with arm cuff readings, but cuffs remain more precise for any single measurement.
Blood pressure rings offer something cuffs cannot: continuous, passive monitoring. You cannot wear an arm cuff 24 hours a day. But you can wear a ring while you sleep, work, exercise, and go about your daily routine. This gives you a continuous stream of data that reveals patterns invisible to spot checks with a cuff.
The ideal approach is to use both tools together. Use your arm cuff for periodic accurate baseline readings and calibration. Use your ring for daily trend tracking between cuff measurements. Share both sets of data with your healthcare provider for the most complete picture of your cardiovascular health.
Do not choose one over the other. They complement each other. The cuff gives precision. The ring gives continuity. Together, they give you something neither can provide alone: a full, ongoing view of your blood pressure behavior.
The Future Of Blood Pressure Ring Calibration
Calibration technology is improving rapidly. Several companies and research institutions are working on calibration free blood pressure monitoring. This would eliminate the need for a reference cuff entirely.
Researchers at the National Institutes of Health’s ARPA H program are developing novel optical sensors that could enable self calibrating blood pressure rings. These sensors would use advanced bioimpedance and machine learning to estimate blood pressure without any external reference device.
Some current rings already use AI that learns your personal patterns over time and adjusts its estimates accordingly. As these algorithms become more sophisticated, the frequency and burden of manual calibration will decrease.
The American Heart Association published a scientific statement in December 2025 acknowledging the promise of cuffless blood pressure devices while emphasizing that key gaps must still be addressed. These include standardized validation protocols, real world accuracy testing, calibration stability research, and outcome evidence linking cuffless readings with actual health outcomes.
For now, regular calibration with a validated arm cuff remains essential. But the technology is moving fast. Within the next few years, blood pressure rings may become accurate enough to function with minimal or no manual calibration. Until then, following proper calibration steps is the best way to get value from your device.
Tips For Getting The Most Accurate Long Term Data
Accuracy is not just about calibration. It is about building good habits around how you wear and use your ring every day.
Wear the ring consistently. The more data your ring collects, the better its algorithms perform. Gaps in data reduce the AI’s ability to detect meaningful trends. Try to wear the ring at least 20 hours per day, including during sleep.
Keep a blood pressure log. Record your arm cuff readings alongside your ring data. This helps you and your doctor compare the two sources and spot any discrepancies. Many companion apps have built in logging features for this purpose.
Track your lifestyle factors. Note when you exercise, what you eat, how much caffeine you consume, and how stressed you feel. These details add context to your blood pressure data. A spike that coincides with a stressful meeting means something different than a spike that occurs during sleep.
Update your ring’s firmware and app regularly. Manufacturers push updates that improve sensor algorithms, fix bugs, and enhance calibration accuracy. Outdated software means outdated performance.
Share your data with your doctor. Blood pressure rings generate rich, continuous data that can help your healthcare provider make better decisions. Bring your trend data to your next appointment. Most doctors appreciate having more data points to work with, especially for managing conditions like hypertension.
Frequently Asked Questions
Can I calibrate my blood pressure ring without an arm cuff?
No. Current blood pressure monitoring rings require an arm cuff reading for calibration. The cuff provides the accurate reference measurement that the ring’s sensors use to establish a baseline. Some future devices may eliminate this requirement, but for now, a validated arm cuff is essential for calibration.
How long does the calibration process take?
The full process takes about 10 to 15 minutes. This includes five minutes of quiet rest before starting, plus the time to take two or three cuff readings while the ring syncs its sensor data. Do not rush the process. Taking your time produces a more accurate baseline.
Will my ring stop working if I forget to recalibrate?
Most rings will continue to provide data past the calibration deadline. However, the accuracy of that data decreases over time. After 28 days without recalibration, the estimates may drift significantly from your actual blood pressure. Some apps will display a warning that recalibration is overdue.
Can I use a wrist blood pressure monitor instead of an arm cuff for calibration?
It is not recommended. Wrist monitors are generally less accurate than upper arm monitors. Since calibration quality directly determines your ring’s accuracy, using a less reliable reference device will produce a less reliable baseline. Stick with a validated upper arm cuff monitor.
Does the finger I wear the ring on affect calibration?
Yes. The index and middle fingers typically produce the strongest and most stable sensor signals. These fingers have larger blood vessels and better blood flow compared to the ring finger or pinky. Check your ring’s instructions for the manufacturer’s recommended finger placement.
Are blood pressure monitoring rings accurate enough for medical use?
Currently, most blood pressure monitoring rings are classified as wellness devices, not medical devices. They track trends and patterns rather than providing clinical grade measurements. The American Heart Association has stated that cuffless devices show promise but need more validation before clinical adoption. Always confirm important readings with a validated arm cuff and consult your doctor for medical decisions.
Hi, I’m Lusi. I’m a tech enthusiast who loves digging into gadgets, testing products, and helping people find the best tech for their needs and budget. Got a question or a product you’d like me to review? Drop me a mail— I’d love to hear from you!