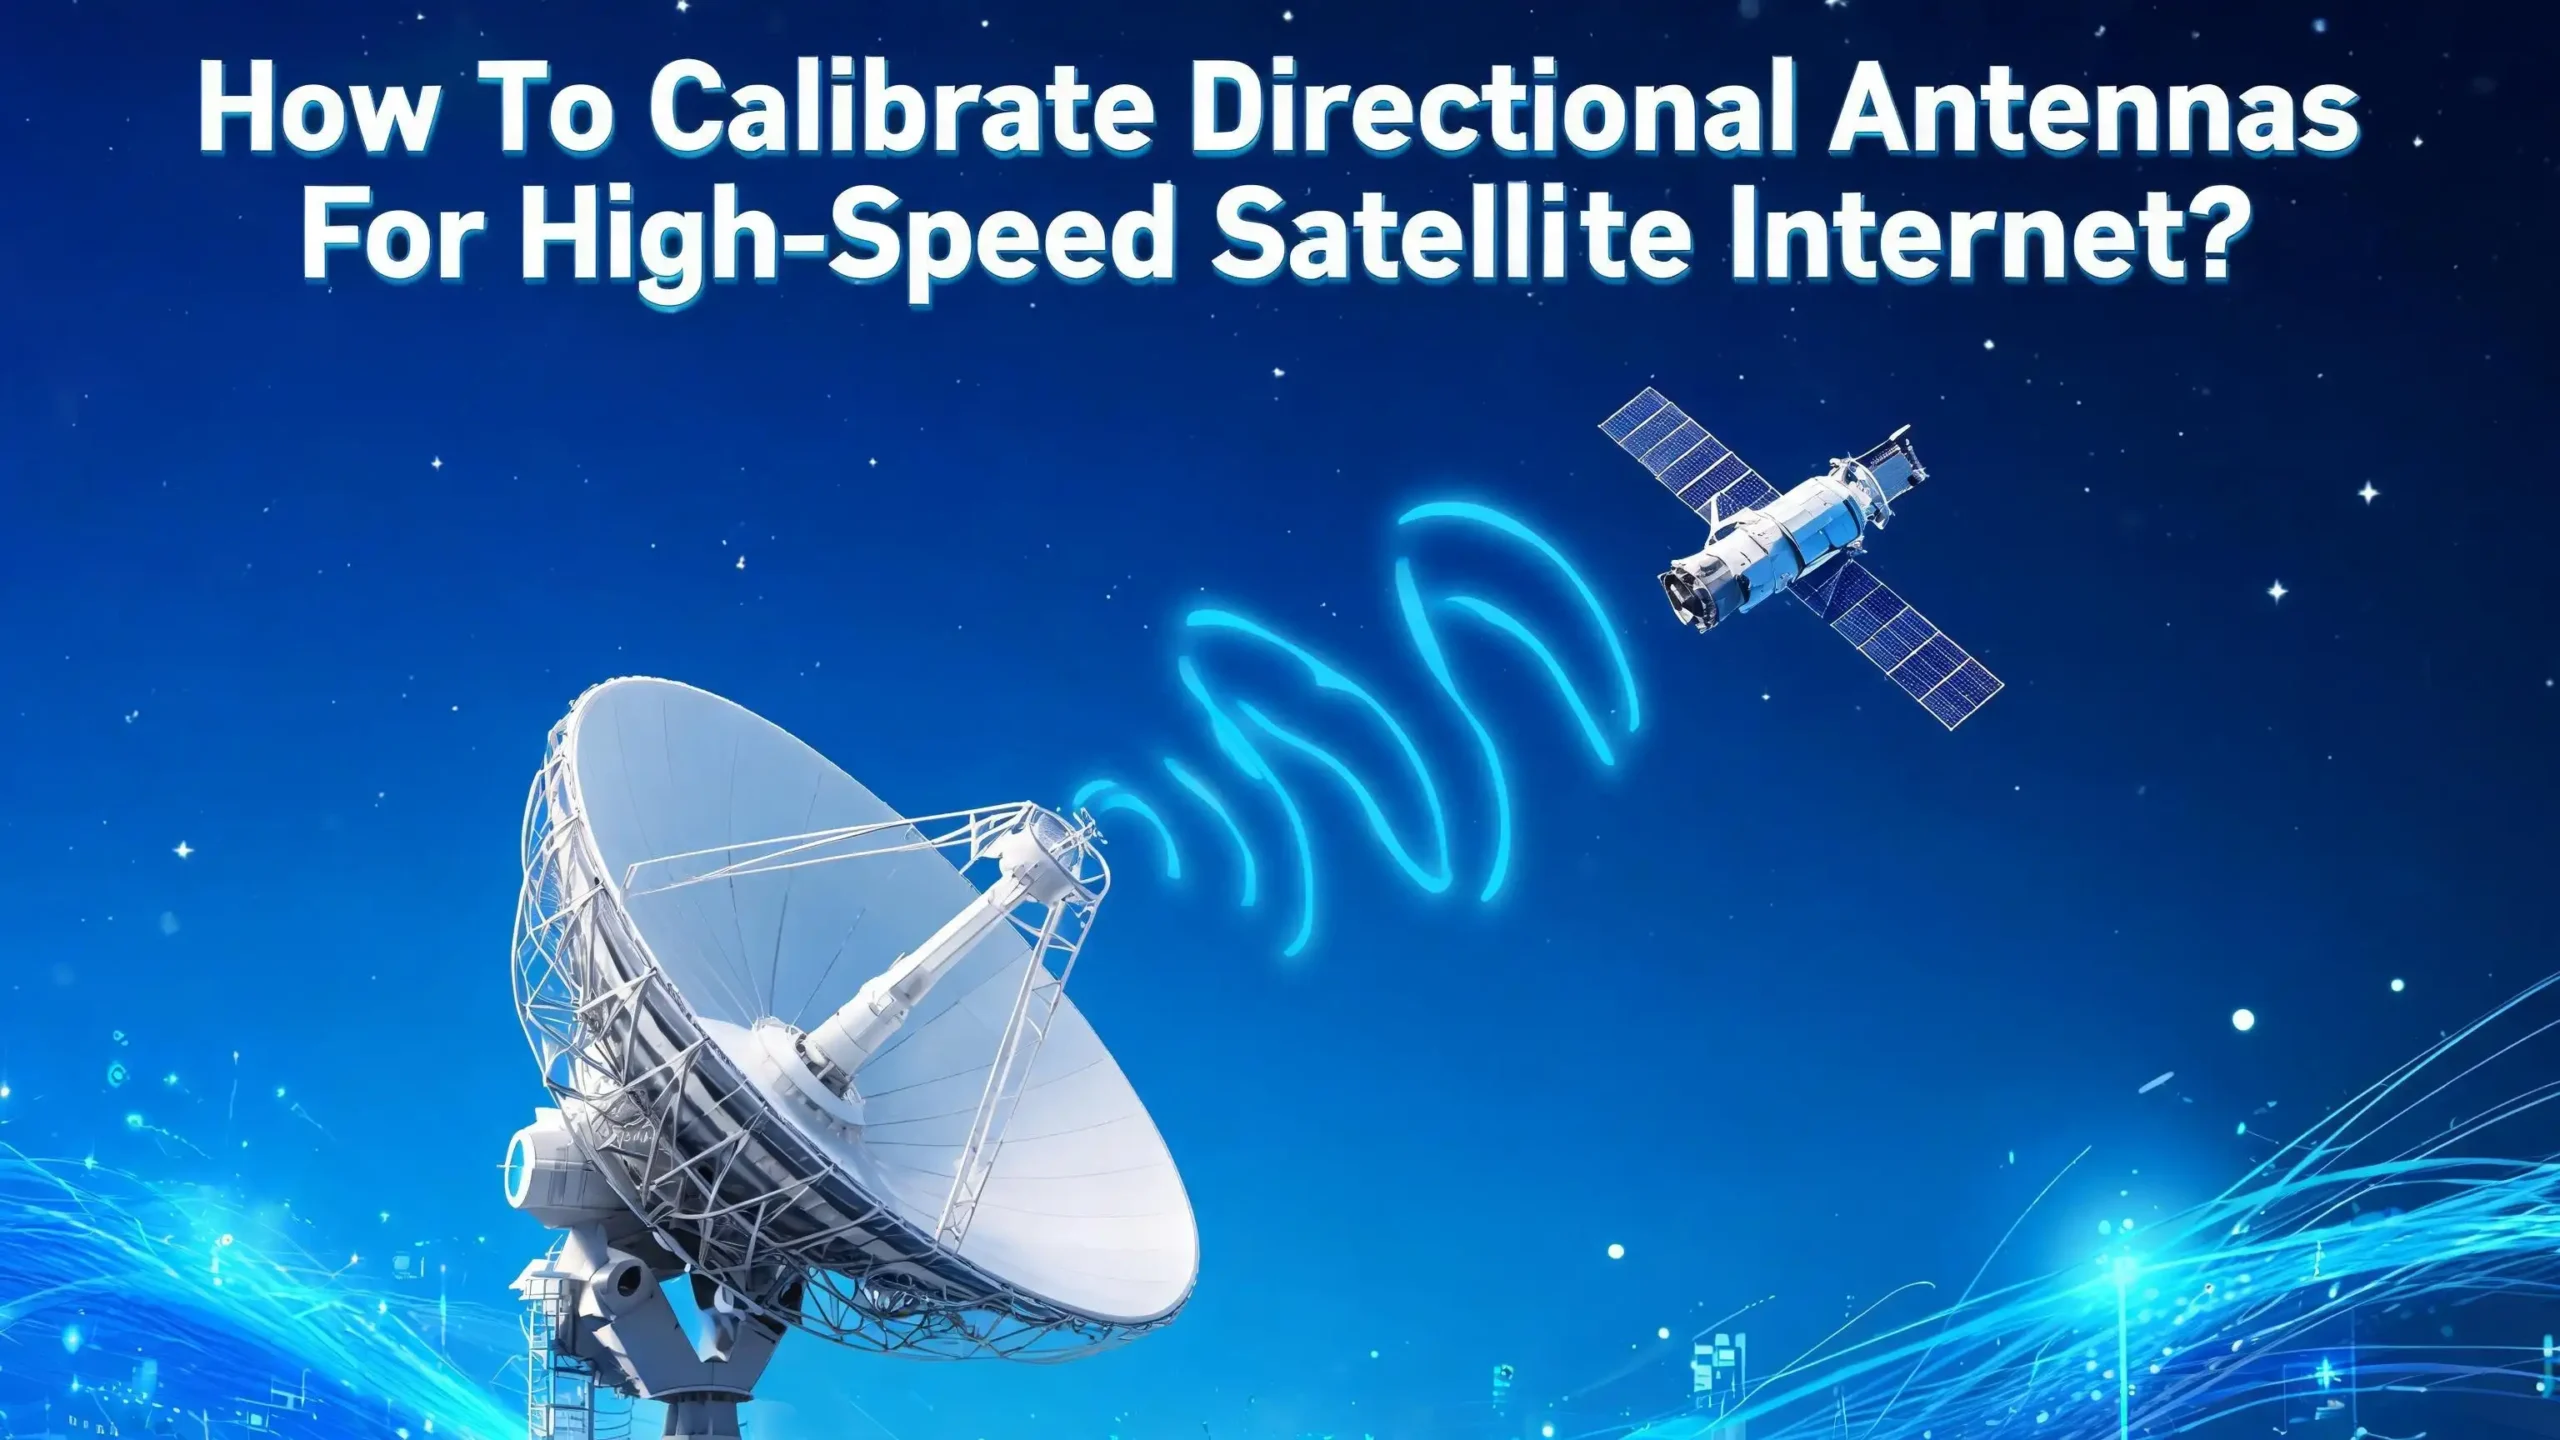
How To Calibrate Directional Antennas For High Speed Satellite Internet?
Getting fast, reliable satellite internet depends on one critical factor most people overlook: proper antenna calibration. A directional antenna that is even half a degree off target can reduce your signal strength by up to 40%, turning a premium satellite connection into a frustrating, buffering mess.
Satellite internet providers use geostationary satellites positioned roughly 35,786 kilometers above the equator. Your directional antenna must point at one specific spot in the sky with extreme precision.
The margin for error shrinks even further with modern Ka band and Ku band systems that use narrow beam widths for higher data throughput. A poorly calibrated antenna does not just slow your connection. It can cause packet loss, increase latency, and even interfere with adjacent satellites.
This guide walks you through every step of the calibration process using plain language and practical instructions. You will learn how to calculate the correct pointing angles, use affordable tools to fine tune your signal, and troubleshoot common problems that cause poor performance.
Key Takeaways
- Antenna calibration involves three primary adjustments. You need to set the correct azimuth (left and right rotation), elevation (up and down tilt), and polarization (rotational skew of the LNB or feed horn). All three must be accurate for optimal signal reception.
- Small errors cause big problems. For a typical Ku band antenna with a half power beam width of about 1 degree, a pointing error of just 0.5 degrees can result in more than 3 dB of signal loss. That translates directly into slower speeds and dropped connections.
- You do not need expensive professional equipment. A digital inclinometer, a compass, a satellite signal meter, and a smartphone app can handle most residential and small business calibration jobs. These tools together cost a fraction of a single service call.
- Weather and physical disturbances require recalibration. Strong winds, heavy snow loads, and even thermal expansion from sun exposure can shift your antenna alignment over time. Periodic checks keep your connection running at peak performance.
- Ka band systems demand higher precision than Ku band. Because Ka band frequencies (26.5 GHz to 40 GHz) use narrower beam widths, the acceptable pointing error is smaller. Plan for tighter tolerances if you use a Ka band satellite internet service.
- Software tools can speed up the process dramatically. Modern satellite finder apps with GPS and AR features can calculate your pointing angles automatically and guide you through alignment in minutes instead of hours.
Understanding How Directional Antennas Work For Satellite Internet
A directional antenna focuses its receiving and transmitting energy in one specific direction. Unlike omnidirectional antennas that pick up signals from all around, a directional satellite dish concentrates its sensitivity into a narrow beam aimed at a single satellite. This focused design is what makes high speed satellite internet possible.
The most common type used for satellite internet is the parabolic reflector antenna. The curved dish surface collects incoming radio waves and reflects them to a focal point where the feed horn or LNB (Low Noise Block downconverter) sits. The LNB amplifies the weak satellite signal and converts it to a lower frequency that your modem can process.
The gain of a parabolic antenna is directly related to its size and the frequency it operates on. Larger dishes and higher frequencies produce narrower beam widths and higher gain. A typical residential Ku band dish might have a beam width of about 1 to 2 degrees. A Ka band dish of the same size will have an even narrower beam. This narrow focus is what allows you to receive strong signals from a satellite thousands of kilometers away.
However, this narrow beam also means that precise pointing is essential. The antenna must be aimed so that its beam center aligns exactly with the target satellite. Even a small deviation moves the beam away from the point of maximum gain. The result is a weaker received signal, lower signal to noise ratio, and reduced internet speed.
Understanding this relationship between beam width and pointing precision is the foundation of effective antenna calibration. The narrower your antenna’s beam, the more carefully you need to calibrate it.
Gathering The Tools You Need Before Starting Calibration
Before you climb onto the roof or head to the antenna mount, collect all the tools you will need. Having everything ready prevents unnecessary trips and keeps you safe during the process. The good news is that you do not need a truck full of professional equipment for a standard residential calibration.
A digital inclinometer is essential for measuring the elevation angle. These devices offer accuracy within 0.1 degrees or better, which is far superior to the rough markings stamped on most antenna mounts. Place it on a flat surface of the dish or mounting arm to read the exact tilt angle.
A compass helps you determine the azimuth direction. A standard magnetic compass works, but keep it away from the metal dish and any electronic devices. Smartphone compass apps can work in a pinch, but they are often less accurate due to magnetic interference from the phone itself. For best results, stand a few feet away from the dish when taking your compass reading.
A satellite signal meter or finder provides real time feedback as you adjust the antenna. Basic analog meters are affordable and show relative signal strength. Digital meters show more detail, including signal quality metrics like bit error rate and modulation error rate. For high speed internet calibration, a digital meter with quality readings is strongly recommended.
A smartphone with a satellite alignment app can replace several standalone tools. Apps like DishPointer, SatFinder Pro, and similar tools use your phone’s GPS to calculate azimuth, elevation, and skew angles for your specific location and target satellite. Some even offer augmented reality views that overlay satellite positions on your camera feed.
Finally, bring a set of wrenches or socket tools that fit your antenna mount bolts, a level, and a marker or tape for reference points. Safety equipment like gloves and non slip shoes are also important if you are working at height.
Calculating Your Azimuth Elevation And Polarization Angles
Every satellite calibration starts with three numbers: azimuth, elevation, and polarization. These angles define exactly where your antenna needs to point and how the feed horn should be rotated. Getting these numbers right before you touch the antenna saves a lot of trial and error.
Azimuth is the horizontal compass direction from your location to the satellite. It is measured in degrees from true north, moving clockwise. So 0 degrees is north, 90 degrees is east, 180 degrees is south, and 270 degrees is west. Your satellite internet provider will specify which satellite your dish should target, and its orbital position is expressed as a longitude on the geostationary arc.
Elevation is the vertical angle between the horizon and the satellite. If the satellite were directly overhead, the elevation would be 90 degrees. For most locations in the continental United States, satellite elevation angles fall between 25 and 55 degrees depending on your latitude and the satellite’s longitude.
Polarization (often called LNB skew) is the rotational angle of the feed horn or LNB. Satellites transmit signals in specific polarization orientations. Your receiving element must match this orientation to capture the maximum signal and reject interference from the opposite polarization. An incorrect skew setting reduces signal strength and degrades cross polarization isolation, which can cause errors in data reception.
You can calculate all three angles using online satellite calculators. Enter your GPS coordinates (latitude and longitude) and the orbital position of your target satellite. The calculator returns your azimuth, elevation, and polarization values instantly. Many satellite alignment smartphone apps also perform this calculation automatically using your phone’s built in GPS.
Write these numbers down or save them on your phone before you start adjusting the antenna. Double check the values using a second calculator or app to make sure they are correct.
Setting The Elevation Angle With Precision
Start your physical calibration with the elevation angle. This is the up and down tilt of your dish relative to the ground. Setting elevation first gives you a solid baseline before you make azimuth adjustments.
Loosen the elevation bolts on your antenna mount just enough to allow movement but still provide some friction. You want the dish to stay in place when you release it but move with gentle pressure. Place your digital inclinometer on the flattest part of the dish surface or on the mounting arm that runs parallel to the dish face.
Slowly tilt the dish up or down until the inclinometer reads the elevation angle you calculated. For example, if your calculation shows 38.5 degrees, adjust until the display reads exactly 38.5 degrees. Do not rely on the graduated scale printed on the antenna bracket. These markings are rough guides at best and can be off by a degree or more due to manufacturing tolerances.
Once you reach the target angle, snug the elevation bolts to hold the dish in position. Do not fully tighten them yet because you may need to make small adjustments later during the fine tuning phase.
Temperature can affect your measurement. Metal antenna structures expand and contract with heat. If you are calibrating on a very hot day with the sun hitting the dish directly, the structure may shift slightly as it cools in the evening. Professional installers often calibrate during early morning or late afternoon to minimize thermal effects.
For installations that use offset feed antennas (the most common residential type), remember that the dish face does not point directly at the satellite. The actual beam direction is higher than the face of the dish. Your satellite calculator or provider documentation will account for this offset, but make sure you are measuring the dish face angle, not the beam angle, when using your inclinometer.
Adjusting The Azimuth Direction Accurately
With the elevation set, the next step is rotating the antenna to the correct azimuth bearing. This is the left and right adjustment that aims the dish at the right horizontal position in the sky.
First, determine true north at your location. This is different from magnetic north, which is what your compass needle points to. The difference between magnetic north and true north is called magnetic declination, and it varies depending on where you live. In some parts of the United States, the declination can be as large as 15 degrees east or west. You can find your local declination value using online tools from geological survey websites.
Stand several feet away from the antenna and any large metal objects. Hold your compass level and note the bearing to magnetic north. Apply your declination correction to get true north. From true north, calculate the direction you need to face based on your target azimuth angle.
Walk behind the dish and sight along its back surface toward the sky. Rotate the entire antenna mount until it faces the correct azimuth direction. Many mounts allow you to loosen a central bolt or clamp and swing the dish in a full circle.
For a more precise azimuth setting, use a smartphone app with an augmented reality satellite overlay. Point your phone’s camera at the sky, and the app will display the geostationary satellite arc with individual satellite positions marked. Rotate the dish until its center aligns with the target satellite marker on your screen.
After setting the approximate azimuth, snug the mounting bolts lightly. You will make fine adjustments in the next step using real time signal feedback. The goal at this stage is to get the dish within 2 to 3 degrees of the correct direction, close enough that your signal meter can detect the satellite beacon.
Fine Tuning With A Satellite Signal Meter
The rough alignment gets you close, but fine tuning with a signal meter is what delivers maximum performance. This step separates adequate internet from great internet. Even a fraction of a degree can mean the difference between 50 Mbps and 100 Mbps on a high speed satellite link.
Connect your satellite signal meter inline between the LNB and the cable that runs to your modem. Most meters use standard coaxial F connectors. Power on the meter and set it to the correct frequency band (Ku or Ka) and the polarization type (horizontal or vertical, or left and right circular) matching your target satellite.
Start with azimuth adjustments. With the elevation already set to the calculated value, slowly sweep the dish left and right in small increments. Move no more than half a degree at a time and pause for two to three seconds at each position to let the meter reading stabilize. Watch the signal strength indicator carefully.
When you see the signal level begin to rise, slow down even further. Nudge the dish in tiny movements until the meter shows the peak signal strength. Mark or note this position. Now do the same in the opposite direction to confirm the peak. The true center is the point of highest signal on both passes.
Next, repeat the process for elevation. Make small upward and downward adjustments while watching the meter. Find the peak in the vertical axis just as you did for the horizontal axis.
If your meter displays signal quality (such as MER or bit error rate) in addition to signal strength, optimize for quality rather than raw strength. A strong signal that is off frequency or partially aimed at an adjacent satellite will show high strength but poor quality. True calibration means maximizing both values simultaneously.
Once you find the sweet spot, tighten all mounting bolts firmly while monitoring the meter. Tightening bolts can shift the dish slightly, so watch the readings as you work. Retighten and readjust as needed until the bolts are fully secure and the signal remains at its peak.
Setting The Correct LNB Polarization Skew
The polarization skew is the third and often overlooked angle in antenna calibration. Setting it correctly ensures your LNB or feed horn is aligned with the polarization plane of the satellite signal. An incorrect skew reduces the signal you want and lets in interference from the opposite polarization.
Geostationary satellites transmit using either linear polarization (horizontal and vertical) or circular polarization (left hand and right hand). For linear polarization, the orientation of your LNB relative to the dish determines which polarization you receive. The skew angle compensates for the fact that the satellite’s transmission reference plane and your local horizontal plane are not necessarily parallel due to geometric differences in your positions.
Your satellite calculator will provide the skew angle in degrees. A positive value typically means you rotate the LNB clockwise (as viewed from behind the dish looking toward the satellite), and a negative value means counterclockwise. Most LNBs have markings on the collar or body to help you measure the rotation.
Loosen the LNB clamp just enough to rotate the LNB within its holder. Rotate it to the calculated skew angle using the markings as a guide. Then tighten the clamp.
Fine tune the skew using your signal meter. Look at the cross polarization discrimination or simply the overall signal quality reading. Rotate the LNB slightly in each direction and observe the effect on signal quality. The best skew angle produces the highest signal quality and the greatest rejection of cross polarized signals.
For Ku band residential systems, a skew error of 5 degrees or less usually has minimal impact. For Ka band systems and professional VSAT terminals, even 2 to 3 degrees of skew error can cause measurable performance loss. Take the time to get this right, especially if you are paying for a premium high speed plan.
Using Smartphone Apps To Speed Up The Process
Modern satellite alignment apps have turned what used to be a full day job into something you can finish in under an hour. These apps combine GPS positioning, compass data, inclinometer readings, and satellite databases into a single convenient tool.
The basic workflow is simple. Open the app, select your target satellite from a list or enter its orbital position, and the app calculates your azimuth, elevation, and polarization angles automatically. Many apps also show a live augmented reality view through your phone’s camera. You hold up the phone and see the satellite arc drawn on the sky in real time, with your target satellite clearly marked.
This AR feature is especially helpful for finding the general direction quickly. Instead of doing math with compass bearings and declination corrections, you simply rotate your body until the satellite marker appears on screen, and point the dish in that direction.
Some apps include a built in inclinometer that uses the phone’s accelerometer. You place the phone flat on the dish surface and read the elevation angle directly. While not as precise as a dedicated digital inclinometer, this is accurate enough for initial rough alignment.
Advanced apps offer additional features like obstruction scanning. The app uses the camera to analyze the sky above your location and warns you if trees, buildings, or other obstacles block the line of sight to the satellite. This is valuable during site selection before you even mount the antenna.
Keep in mind that phone based tools have limitations. The built in compass can be thrown off by nearby metal objects and electronic devices. GPS accuracy varies by phone model and satellite visibility. Always verify your app based alignment with a signal meter for the final fine tuning. The app gets you to the right neighborhood. The signal meter takes you to the exact address.
Understanding How Weather Affects Your Calibrated Signal
Once your antenna is perfectly calibrated, the atmosphere still plays a role in signal quality. Understanding weather related signal loss helps you set realistic expectations and know when a problem is temporary versus when it requires recalibration.
Rain fade is the most common weather issue for satellite internet. Rain, snow, and ice absorb and scatter radio waves, especially at higher frequencies. Ka band signals (26.5 to 40 GHz) are significantly more affected than Ku band signals (12 to 18 GHz). During a heavy downpour, you may experience slower speeds or brief outages even with a perfectly calibrated antenna. This is normal and resolves when the rain passes.
The severity of rain fade depends on the rain rate, the length of the signal path through the rain, and your antenna’s elevation angle. Lower elevation angles mean the signal travels through more atmosphere, picking up more attenuation. Locations in the southeastern United States, where heavy thunderstorms are frequent, experience more rain fade events than arid regions.
Snow and ice accumulation on the dish itself is a different problem. A layer of wet snow on the dish surface scatters and absorbs the signal before it even reaches the reflector. Some antennas include built in heaters to melt snow. If yours does not, you need to manually clear the dish after storms. Never use sharp tools or hot water. A soft broom or compressed air works safely.
Wind does not directly affect the radio signal, but it physically moves the antenna. Strong sustained winds or gusts can push a dish off alignment, especially if the mounting bolts were not properly tightened. After any significant windstorm, check your signal levels and recalibrate if needed. Thermal expansion from intense sun exposure can also cause gradual drift over months.
If your signal drops and the weather is clear, the issue is likely physical misalignment or equipment failure, not atmospheric conditions.
Troubleshooting Common Calibration Problems
Even with careful work, you may run into issues during calibration. Here are the most common problems and their practical solutions.
No signal detected during initial alignment. This usually means the dish is too far off target for the meter to pick up anything. Double check your calculated angles. Verify that you used the correct satellite orbital position and that your GPS coordinates are accurate. Confirm that your compass reading accounts for magnetic declination. Try widening your azimuth sweep to cover a broader range.
Signal found but quality is poor. You may be locked onto the wrong satellite. Adjacent geostationary satellites are spaced only 1 to 3 degrees apart. Check the signal parameters (frequency, symbol rate, polarization) against your provider’s specifications. If they do not match, you are aimed at a neighbor satellite and need to adjust slightly.
Signal drops after tightening bolts. This is one of the most frustrating issues. The act of tightening the mount bolts physically shifts the dish. The solution is to tighten bolts in small increments in a star pattern while continuously watching your signal meter. Alternate between bolts and snug each one gradually rather than fully tightening one at a time.
Intermittent signal loss throughout the day. This can indicate partial obstruction by trees or structures. As the sun moves across the sky, shadows shift, but the satellite stays in one place. A tree branch that barely clears the signal path may sway into it during wind. Use your alignment app’s obstruction scanner to identify and remove or trim obstructions.
Signal degrades over weeks or months. Gradual degradation points to mechanical drift. Check that all bolts remain tight. Inspect the mount for rust or wear that could allow slippage. In extreme climates, thermal cycling can loosen hardware over time. A seasonal recalibration schedule prevents slow performance loss.
Maintaining Your Antenna Calibration Over Time
Calibration is not a one time task. To keep your satellite internet running at peak speed, you need a simple maintenance routine that catches problems early before they become outages.
Every three months, perform a quick signal check using your modem’s diagnostic page or your provider’s app. Most satellite modems report signal strength, signal quality, and error rates. Write down these numbers after your initial calibration as a baseline. If future readings drop by more than 1 dB from your baseline, it is time to inspect the antenna.
Visually inspect the dish and mount at least twice a year. Look for rust on bolts and brackets. Check that the dish surface is clean and free of debris, bird nests, or spider webs across the feed horn. Examine the coaxial cable for damage, especially where it connects to the LNB and where it enters your home. Water intrusion into cable connectors is a silent performance killer that slowly corrodes contacts.
After any severe weather event including strong storms, heavy snow, or high winds, check your signal levels immediately. Even a brief gust above 60 mph can shift a poorly secured dish. If the signal has dropped, follow the fine tuning procedure with your signal meter to bring it back to peak.
Keep your calculated pointing angles saved in a document or phone note. If the dish is ever knocked completely off target, these numbers let you restore the alignment quickly without starting the calculation process from scratch.
For professional or business critical installations, consider investing in a weatherproof signal monitoring system that logs signal metrics continuously. These systems can send alerts when signal quality drops below a threshold, letting you act before your internet speed suffers noticeably.
Safety Precautions During Antenna Calibration
Working with satellite antennas often means working at height, handling heavy equipment, and dealing with electrical connections. Taking safety seriously prevents injuries and protects your equipment.
If your antenna is roof mounted, use a sturdy ladder and have a second person present as a spotter. Wear shoes with non slip soles and avoid working on wet or icy surfaces. A fall from even a single story roof can cause serious injury. If the roof is steep or the antenna is in a difficult location, consider hiring a professional installer rather than risking your safety.
Never work on your antenna during a thunderstorm or when lightning is visible nearby. Satellite antennas are typically grounded, but the metal dish and mount can attract lightning. Even without a direct strike, nearby lightning can induce dangerous voltages in the coaxial cable and equipment.
Be mindful of the weight and leverage of the dish. A large dish caught by the wind while you have the mounting bolts loosened can swing unpredictably. Loosen bolts partially rather than removing them completely. Work on calm days with low wind speeds whenever possible.
Protect your eyes when looking up toward the sky for extended periods, and use sunscreen on sunny days. Antenna calibration can take longer than expected, and prolonged sun exposure adds up quickly.
When working with coaxial cables and electrical connections, ensure the modem and any power inserters are turned off before connecting or disconnecting cables. The DC voltage sent up the coaxial cable to power the LNB is low but can damage equipment if cables are connected or disconnected while energized. Handle connectors with care and use proper weatherproof boots to seal outdoor connections against moisture.
When To Call A Professional Installer
While DIY calibration is entirely possible for most residential setups, certain situations call for professional expertise. Knowing when to call for help saves you time and prevents potential damage to expensive equipment.
If your antenna is larger than about 1.2 meters (4 feet) in diameter, the weight and wind loading make it difficult and potentially dangerous to adjust alone. Professional installers have the tools, experience, and safety equipment to handle large dishes efficiently.
VSAT terminals used for business internet often require calibration precision that exceeds what handheld tools can reliably deliver. These systems may need carrier level adjustments, cross polarization testing, and commissioning procedures that involve coordination with the satellite operator’s network operations center. The satellite company may require a certified installer for warranty and service agreement compliance.
If you have tried the steps in this guide and still cannot achieve satisfactory signal levels, the problem may not be with your calibration. A faulty LNB, damaged coaxial cable, corroded connectors, or a warped dish surface can prevent a good signal regardless of how precisely you aim the antenna. A professional can test each component in the signal chain to isolate the fault.
Installations that require mounting on tall commercial buildings, communication towers, or other elevated structures should always be handled by professionals with proper fall protection training and equipment. The cost of a professional installation is small compared to the cost of a medical emergency.
Finally, if you are setting up a new satellite internet service for the first time and your provider offers professional installation as part of the package, take advantage of it. Watch the installer work, ask questions, and note your final pointing angles. This gives you the knowledge to perform adjustments yourself in the future while ensuring the initial setup is done correctly.
Frequently Asked Questions
How often should I recalibrate my satellite internet antenna?
Check your signal levels every three months using your modem’s diagnostic page or provider app. Perform a physical inspection and recalibration at least once a year. You should also check alignment after any major storm, heavy snowfall, or high wind event. In regions with extreme temperature swings, seasonal recalibration helps compensate for thermal expansion and contraction of the mounting hardware.
Can I calibrate a directional satellite antenna by myself?
Yes, most residential satellite internet antennas can be calibrated by one person with the right tools. You need a digital inclinometer, compass, satellite signal meter, and a smartphone with a satellite alignment app. Having a second person is helpful for watching the signal meter while you make adjustments, but it is not strictly necessary. Always follow safety precautions when working at height.
What is the difference between signal strength and signal quality?
Signal strength measures the raw power level of the received signal. Signal quality measures how clean and error free that signal is. You can have high strength but low quality if you are aimed at the wrong satellite or if there is interference. Always optimize for signal quality during calibration because quality directly determines your internet speed and reliability.
Why does my satellite internet slow down during rain?
Rain absorbs and scatters radio frequency signals, an effect called rain fade. This affects Ka band frequencies (used by many high speed satellite services) more than Ku band frequencies. Heavy rain can cause temporary speed reductions or brief outages. This is a physical limitation of radio wave propagation and cannot be fixed by antenna calibration. The signal returns to normal when the rain stops.
Do I need different tools for Ka band versus Ku band calibration?
The basic tools are the same, but Ka band requires higher precision in your adjustments. Ka band antennas have narrower beam widths, so the acceptable pointing error is smaller. A digital inclinometer with 0.1 degree resolution and a signal meter capable of reading Ka band frequencies are recommended. Ku band calibration is slightly more forgiving of small errors due to its wider beam width.
What should I do if I cannot find any signal during calibration?
First, verify your calculated angles are correct by using a second satellite calculator or app. Confirm the target satellite orbital position with your internet provider. Check all cable connections and make sure the LNB is receiving power. If everything checks out, perform a slow, wide azimuth sweep of at least 20 degrees in each direction while watching your signal meter. If you still find nothing, the issue may be with the LNB, cable, or modem rather than the antenna alignment.
Hi, I’m Lusi. I’m a tech enthusiast who loves digging into gadgets, testing products, and helping people find the best tech for their needs and budget. Got a question or a product you’d like me to review? Drop me a mail— I’d love to hear from you!