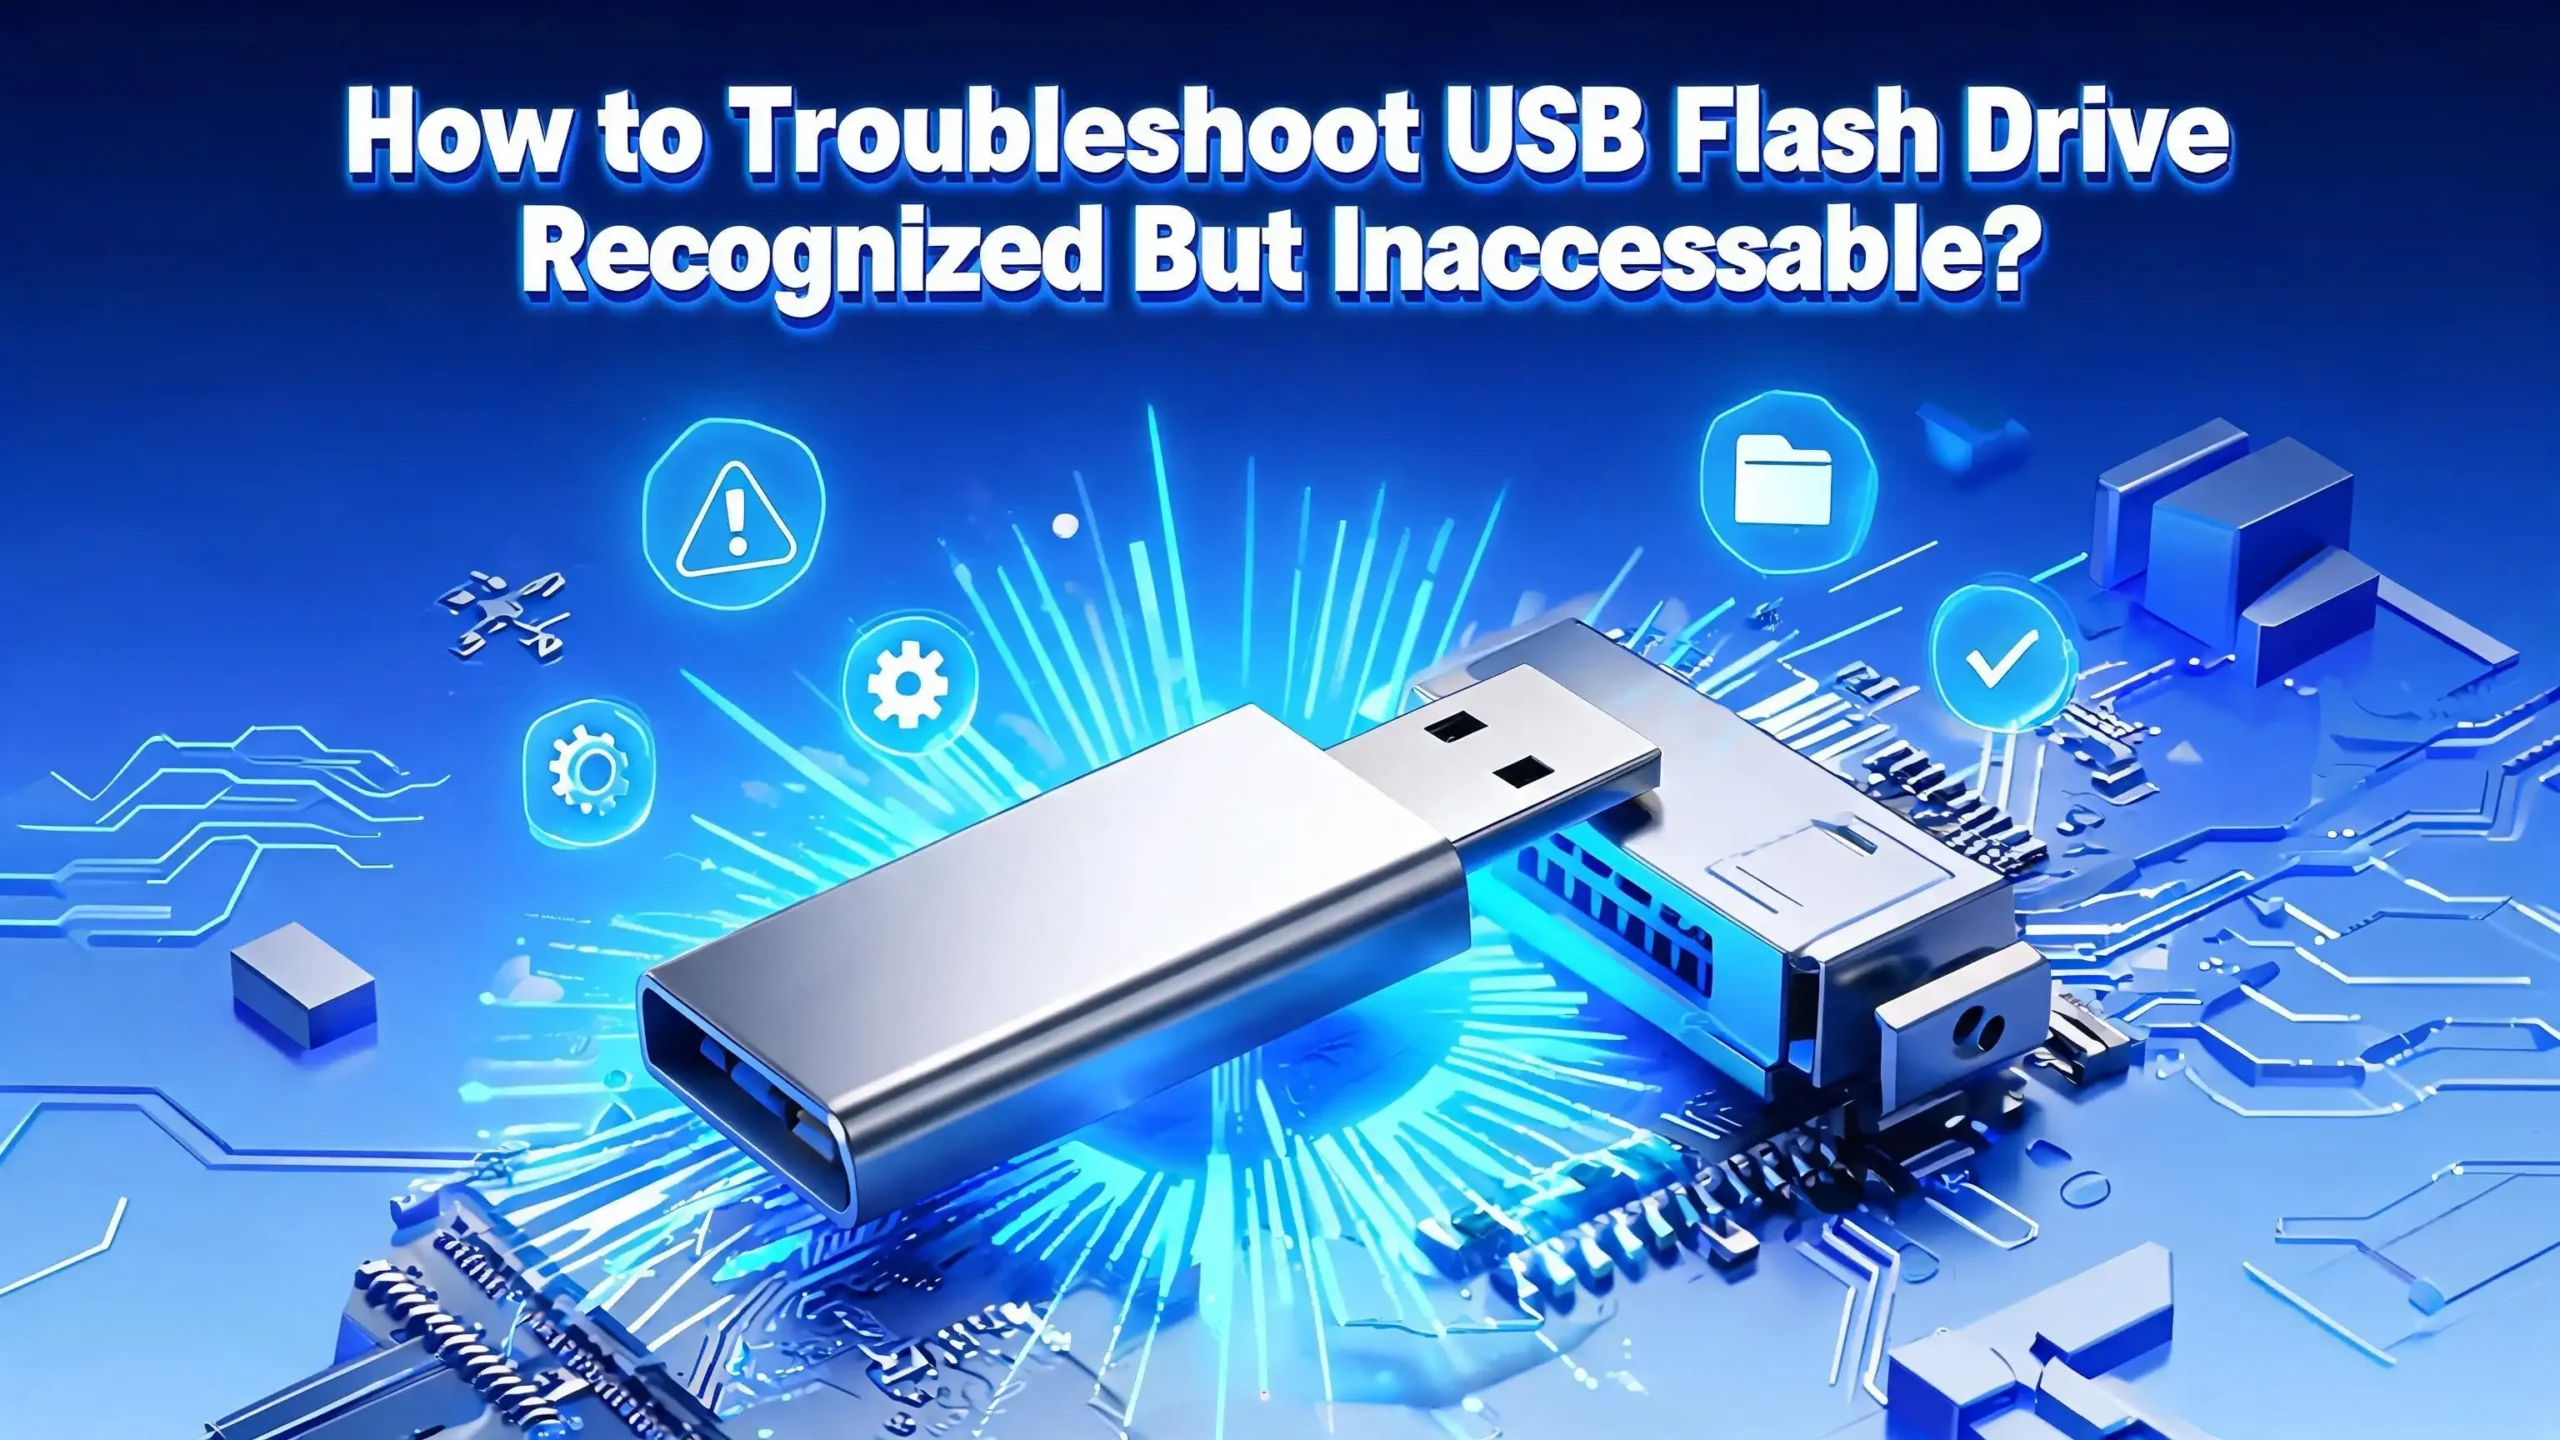
How to Troubleshoot USB Flash Drive Recognized But Inaccessible?
You plug your USB flash drive into your computer. The system plays the familiar connection sound. The drive even appears in Device Manager. But you cannot open it, access your files, or do anything useful with it. Sound familiar?
This is one of the most frustrating tech problems anyone can face. Your computer sees the drive. It knows the drive is there. Yet the moment you try to open it, you get an error message, a blank screen, or nothing at all. Your important documents, photos, and work files feel trapped behind a locked door.
The good news? This problem almost always has a fix. In most cases, your data is still on the drive and fully recoverable. The issue usually sits with drive letters, file system errors, outdated drivers, or permission conflicts.
This guide walks you through 14 proven solutions to fix a USB flash drive that your computer recognizes but cannot access. We start with quick and simple fixes, then move to more advanced methods. By the end, you will know exactly what caused your problem and how to solve it.
In a Nutshell
- A recognized but inaccessible USB drive usually means the hardware is fine. The issue is almost always software related. Your computer detects the physical device but cannot read its contents due to a file system error, missing drive letter, or driver conflict.
- Always check the basics first. Try a different USB port, test the drive on another computer, and restart your system. These simple steps fix the problem more often than you might expect.
- CHKDSK is your best friend for file system errors. The built in Windows tool called CHKDSK can scan and repair many common USB drive errors without erasing your data.
- Disk Management reveals hidden problems. Open Disk Management to see if your drive appears as unallocated space, has a RAW file system, or lacks a drive letter. Each of these issues has a specific fix.
- Formatting should be your last resort. Many guides recommend formatting right away, but that erases all your data. Try every other solution first. If you must format, back up or recover your files beforehand.
- Driver and permission issues are more common than people realize. An outdated USB driver or a permission conflict can block access to an otherwise healthy drive. Updating drivers or adjusting security settings often solves the problem in minutes.
Try a Different USB Port and Cable
The simplest solution is often the right one. A faulty USB port can cause your computer to detect the drive at a hardware level but fail to establish a proper data connection. This results in the drive appearing in Device Manager but staying inaccessible in File Explorer.
Remove your USB drive and plug it into a different port on the same computer. If you use a desktop PC, try the ports on the back of the case. These connect directly to the motherboard and provide more stable power delivery. Front panel USB ports sometimes suffer from loose internal connections or insufficient power.
If you use a USB hub, remove it from the equation. Plug the flash drive directly into your computer. USB hubs can cause power distribution problems, especially if multiple devices share the same hub. A flash drive that does not receive enough power may appear in the system but fail to mount properly.
Also test your drive on a completely different computer. If it works on another machine, the problem sits with your original computer’s USB configuration, drivers, or operating system settings. If the drive fails on multiple computers, the issue likely involves the drive itself or its file system.
Restart Your Computer and Reconnect the Drive
A restart clears temporary system errors that can block USB access. Windows sometimes encounters conflicts between USB drivers, system services, and connected devices. These conflicts build up during a session and prevent new devices from mounting correctly.
Safely eject your USB drive first. Right click the USB icon in the system tray and select “Eject” before removing the drive. Pulling out a drive without ejecting can cause file system corruption, which makes an existing problem worse.
After ejecting, shut down your computer completely. Do not just restart it. A full shutdown clears more cached data and resets more hardware states than a simple restart. Wait about ten seconds, then power the computer back on. Once Windows finishes loading, insert your USB drive.
This method works because Windows reinitializes all USB controllers during startup. Any stuck processes, driver conflicts, or temporary errors get cleared in the process. Many users report that this simple step fixed their inaccessible USB drive after hours of trying more complex solutions.
If the problem returns after every restart, you likely have a deeper issue with drivers, file systems, or the drive itself. Continue with the solutions below.
Check Disk Management for Drive Status
Disk Management is a built in Windows tool that shows you every storage device connected to your system. It reveals critical information about your USB drive that File Explorer cannot display. Open it by pressing Windows + R, typing diskmgmt.msc, and pressing Enter.
Look for your USB drive in the lower panel. It typically appears as a removable disk. Pay attention to the status bar next to it. You may see one of several conditions:
The drive may show as “Unallocated” space. This means the drive has no partition or file system. It needs a new partition before Windows can access it. The drive may display a “RAW” file system label. This indicates the original file system got corrupted and Windows can no longer read it. The drive might appear “Healthy” but without a drive letter assigned to it.
Each of these conditions has a different fix, which we cover in the sections below. The important thing is that Disk Management confirms your drive is physically functional. If the drive appears here, your hardware works. The problem is purely software related and fixable.
If your drive does not appear in Disk Management at all, the issue may be a dead USB port, a failed drive controller, or a physical hardware defect.
Assign or Change the Drive Letter
A missing or conflicting drive letter is one of the most common reasons a USB drive appears in the system but stays invisible in File Explorer. Windows assigns drive letters automatically, but sometimes the assignment fails or conflicts with another device.
Open Disk Management using the method described above. Find your USB drive in the list. If you see the drive has no letter next to it, or if the letter conflicts with a network drive, you need to assign a new one.
Right click on the USB drive partition and select “Change Drive Letter and Paths.” In the window that opens, click “Add” if no letter exists, or click “Change” if you want to switch the current letter. Choose any available letter from the dropdown menu. Letters like F, G, H or later in the alphabet usually work well because they avoid conflicts with internal drives and optical drives.
Click OK and close Disk Management. Open File Explorer and check if your USB drive now appears with its new letter. In most cases, the drive becomes instantly accessible after this change.
This fix works because Windows needs a unique drive letter to display a storage device in File Explorer. Without a letter, the drive exists at the system level but has no “address” for the user to access.
Run CHKDSK to Repair File System Errors
CHKDSK is a powerful Windows utility that scans storage devices for file system errors and repairs them. If your USB drive has corrupted sectors, broken file tables, or damaged directory structures, CHKDSK can fix many of these issues without erasing your data.
Open Command Prompt as an administrator. Type cmd in the Windows search bar, right click on “Command Prompt,” and select “Run as administrator.” This elevated access is required for CHKDSK to make repairs.
Type the following command and press Enter:
chkdsk X: /f /r /x
Replace X with the actual drive letter of your USB flash drive. The /f flag fixes errors on the disk. The /r flag locates bad sectors and recovers readable information. The /x flag forces the volume to dismount first if needed.
Let the scan run to completion. It may take several minutes depending on the size of your drive and the number of errors found. CHKDSK will display a report showing how many errors it found and fixed.
After the scan finishes, safely eject your USB drive and reinsert it. Check File Explorer to see if the drive is now accessible. CHKDSK successfully resolves the majority of file system corruption issues on USB flash drives.
Fix a RAW File System on the USB Drive
A RAW file system means Windows cannot recognize the format on your USB drive. This happens when the file system gets severely corrupted. You may see error messages like “You need to format the disk before you can use it” or “The volume does not contain a recognized file system.”
First, try running CHKDSK as described in the previous section. However, be aware that CHKDSK sometimes cannot run on RAW drives. If you see the message “CHKDSK is not available for RAW drives,” you need a different approach.
Your first priority should be data recovery. If the drive contains important files, use data recovery software to extract those files before any formatting attempt. Multiple free and paid recovery tools can read RAW drives and pull files from them.
After recovering your data, you can reformat the drive. Open Disk Management, right click on the RAW partition, and select “Format.” Choose NTFS or exFAT as the file system. Give the drive a volume label and click OK.
The formatting process creates a fresh file system on the drive. This erases all existing data but makes the drive fully functional again. If the drive repeatedly turns RAW after formatting, it may have failing flash memory cells and should be replaced.
Update or Reinstall USB Drivers
Outdated or corrupted USB drivers can prevent Windows from properly communicating with your flash drive. The system detects the hardware connection but cannot establish a functional data link due to driver issues.
Open Device Manager by right clicking the Start button and selecting “Device Manager.” Expand the section labeled “Disk drives” and find your USB flash drive. Also check under “Universal Serial Bus controllers” for any devices with yellow warning triangles.
Right click your USB drive and select “Update driver.” Choose “Search automatically for drivers” and let Windows look for a newer version. If Windows finds an update, install it and test your drive again.
If updating does not help, try uninstalling the driver completely. Right click the USB drive in Device Manager and select “Uninstall device.” Then remove the USB drive, restart your computer, and plug the drive back in. Windows will automatically reinstall a fresh driver during the reconnection.
You should also check under “Universal Serial Bus controllers” for an item called “USB Mass Storage Device.” Right click it and follow the same update or uninstall process. Reinstalling USB controller drivers often resolves access problems that persist across multiple USB devices.
Fix Permission and Security Settings
Sometimes your USB drive is fully functional but Windows blocks access due to permission settings. This creates an “Access Denied” error message even though the drive appears in File Explorer. The issue commonly occurs after moving a drive between different computers or user accounts.
Right click your USB drive in File Explorer and select “Properties.” Go to the “Security” tab. Here you can see which users and groups have permission to read, write, and modify files on the drive.
Click the “Edit” button to change permissions. Select your user account from the list and check the box next to “Full Control” under the “Allow” column. Click Apply and then OK.
If your account does not appear in the list, click “Add,” type your username, click “Check Names,” and then click OK. Grant yourself full control permissions.
For more persistent permission problems, click the “Advanced” button on the Security tab. Click “Change” next to the owner name and set yourself as the owner of the drive. Check the box that says “Replace all child object permissions” and apply the changes.
This process gives your user account complete authority over the USB drive. Permission conflicts are especially common on drives that were previously used on computers with different security configurations or domain networks.
Remove Write Protection from the Drive
A write protected USB drive lets you see its contents but prevents you from modifying, deleting, or adding files. Some drives have a physical write protection switch on the side. Check your drive for a small sliding switch and make sure it is in the unlocked position.
If no physical switch exists, the write protection may be set at the software level. Open Command Prompt as administrator and type the following commands one at a time, pressing Enter after each:
diskpart
list disk
Find your USB drive in the list by matching its size. Then type:
select disk X (replace X with your disk number)
attributes disk clear readonly
This command removes the read only attribute from the drive. Type exit to close Diskpart.
You can also fix write protection through the Windows Registry. Press Windows + R, type regedit, and press Enter. Go to this path: HKEY_LOCAL_MACHINE\SYSTEM\CurrentControlSet\Control\StoragePolicies. Look for a value called WriteProtect. If it exists and is set to 1, double click it and change the value to 0. If the StoragePolicies key does not exist, the registry is not causing your problem.
After removing write protection, eject and reinsert your drive to test if full access has been restored.
Create a New Partition on an Unallocated Drive
If Disk Management shows your USB drive as entirely “unallocated” space, the drive has no partition or file system. This happens with brand new drives that were never formatted, or with drives whose partition table got deleted or corrupted.
Right click the unallocated space in Disk Management and select “New Simple Volume.” The New Simple Volume Wizard will open. Click Next and set the volume size. In most cases, you should use the maximum available size to create one large partition.
On the next screen, assign a drive letter. Choose any available letter. Then select a file system. NTFS works best for drives used only with Windows computers. exFAT works if you need compatibility with both Windows and Mac systems. FAT32 works for maximum compatibility but limits individual file sizes to 4 GB.
Give the volume a label like “USB Drive” and check the box for “Perform a quick format.” Click Next and then Finish. Windows will create the partition and format it within a few seconds.
After the process completes, your USB drive should appear in File Explorer with its new drive letter. You can now use it to store and access files normally. Note that creating a new partition on an unallocated drive does not recover any previously stored data.
Scan for Malware and Virus Infections
Malware infections can make a USB drive inaccessible by hiding files, corrupting the file system, or blocking user access. Some viruses specifically target removable drives and alter their properties to prevent normal use.
Run a full antivirus scan on your computer with your USB drive connected. Use Windows Defender or any reputable antivirus software you have installed. Make sure the scan includes removable drives and external storage devices.
Some viruses create hidden system files on USB drives that prevent normal file browsing. After running your antivirus scan, open File Explorer and go to the “View” tab. Check the box for “Hidden items” to reveal any files or folders that malware may have hidden.
You can also use Command Prompt to remove hidden and system attributes from files. Open Command Prompt as administrator and type:
attrib X:*. /d /s /r /h /s*
Replace X with your USB drive letter. This command removes the read only, hidden, and system attributes from all files and folders on the drive. After running this command, check your drive again in File Explorer.
If your antivirus detects and removes malware from the drive, you may still need to run CHKDSK afterward to repair any file system damage the malware caused. A virus can leave behind corrupted directory entries even after the malicious files themselves are removed.
Disable USB Selective Suspend
Windows has a power management feature called USB Selective Suspend that can cause access problems with flash drives. This feature allows Windows to suspend individual USB ports to save power. Sometimes it suspends a port while a drive is still in use, making the drive appear connected but inaccessible.
Open the Control Panel and go to “Power Options.” Click “Change plan settings” next to your active power plan. Then click “Change advanced power settings.”
In the advanced settings window, scroll down and expand “USB settings.” Then expand “USB selective suspend setting.” Change both “On battery” and “Plugged in” values to “Disabled.”
Click Apply and OK to save the changes. This prevents Windows from suspending USB ports for power saving purposes.
You should also check Device Manager for similar power settings. Expand “Universal Serial Bus controllers,” right click on each “USB Root Hub” entry, and select “Properties.” Go to the “Power Management” tab and uncheck the box that says “Allow the computer to turn off this device to save power.”
These changes ensure your USB ports maintain constant power and data connections. Users on laptops frequently experience USB access issues caused by aggressive power management settings, especially when running on battery power.
Use Error Checking in File Explorer
Windows includes a built in error checking tool that provides a graphical alternative to the command line CHKDSK utility. This method works well for users who prefer a visual interface over typing commands.
Open File Explorer and locate your USB drive. Right click on the drive and select “Properties.” Go to the “Tools” tab. Under “Error checking,” click the “Check” button.
Windows may tell you that it does not need to scan the drive if it has not detected any errors. Click “Scan drive” anyway to perform a thorough check. The tool will scan for file system errors, bad sectors, and directory problems.
If the scan finds errors, Windows will offer to repair them automatically. Click the repair option and let the process complete. This may take a few minutes depending on the size of your drive.
After the repair finishes, close the properties window and try accessing your drive again. This method performs the same repairs as CHKDSK but through a friendlier interface. It works especially well for minor file system errors that prevent the drive from opening in File Explorer.
If the error checking tool cannot complete the scan, your file system may be too corrupted for automatic repair. In that case, try the CHKDSK command line method with the /r flag or consider data recovery followed by reformatting.
Format the Drive as a Last Resort
If every other solution fails, formatting the drive creates a fresh file system and often restores full functionality. This step erases all data on the drive, so use it only after you have tried everything else or after recovering your important files.
Open Disk Management, right click your USB drive partition, and select “Format.” Choose your preferred file system. Select NTFS for Windows only use, exFAT for cross platform compatibility with large file support, or FAT32 for maximum device compatibility with files under 4 GB.
Check the “Quick Format” box for a fast process. Uncheck it if you want Windows to perform a full format that also scans for bad sectors. A full format takes longer but provides a more thorough reset of the drive.
Click OK to start the formatting. The process usually completes in under a minute for quick format. After formatting, your drive should appear in File Explorer and work normally.
If Disk Management cannot format the drive, open Command Prompt as administrator and use Diskpart:
diskpart
list disk
select disk X (your USB disk number)
clean
create partition primary
format fs=ntfs quick
assign
This sequence clears the drive completely and creates a fresh partition with the NTFS file system. If the drive still fails after a full format, it likely has hardware damage and needs replacement.
Frequently Asked Questions
Why does my USB flash drive show up but I cannot open it?
Your computer recognizes the physical USB device through its hardware interface, but it cannot read the data on the drive. The most common causes include a corrupted file system, a missing drive letter, an outdated USB driver, or a permission conflict. The drive hardware works fine in most cases. The problem is almost always related to software, file system errors, or Windows configuration issues. Start by checking Disk Management to see the drive’s status, then try assigning a drive letter or running CHKDSK.
Can I fix an inaccessible USB drive without losing my data?
Yes, several methods preserve your data. Running CHKDSK with the /f and /r flags repairs file system errors without deleting files. Assigning a new drive letter, updating drivers, and fixing permissions also keep your data intact. The only solutions that erase data are formatting and creating new partitions. If your drive shows a RAW file system and you must format it, use data recovery software first to extract your important files before proceeding with the format.
What does it mean when my USB drive shows as RAW in Disk Management?
A RAW status means Windows cannot identify the file system on your drive. The original file system, whether it was NTFS, FAT32, or exFAT, has become corrupted beyond recognition. This can happen due to improper ejection, power surges, malware, or physical degradation of the flash memory. You can try CHKDSK first, but it often cannot process RAW drives. Your best approach is to recover your data using recovery software and then reformat the drive with a fresh file system.
How do I know if my USB drive is physically damaged?
Physical damage often shows specific symptoms. The drive may not appear in Disk Management at all. It may cause your computer to freeze or display blue screen errors. The USB connector may feel loose or wobbly. You might also notice the drive getting unusually hot during use. If the drive fails on multiple computers and multiple USB ports, and no software fix works, physical damage is the likely cause. In such cases, professional data recovery services may be your only option for retrieving important files.
Should I use quick format or full format for a USB flash drive?
Quick format erases the file table and creates a new file system in seconds. It works well for drives that are physically healthy but have software issues. A full format performs everything a quick format does but also scans every sector of the drive for physical defects. Choose full format if you suspect bad sectors or if the drive has been unreliable. For a routine reset of a working drive, quick format is sufficient and much faster.
Why does my USB drive keep becoming inaccessible repeatedly?
Recurring access problems usually point to a deeper issue. The flash memory cells may be wearing out, especially on older drives. Your computer may have a faulty USB port that causes intermittent disconnections. Aggressive power management settings might be suspending the USB port during use. Malware on your computer could be repeatedly corrupting the drive. Check your power management settings, scan for malware, try different ports, and monitor the drive’s health. If the problem persists across multiple computers, the drive itself is failing and should be replaced.
Hi, I’m Lusi. I’m a tech enthusiast who loves digging into gadgets, testing products, and helping people find the best tech for their needs and budget. Got a question or a product you’d like me to review? Drop me a mail— I’d love to hear from you!